|
||||
. |
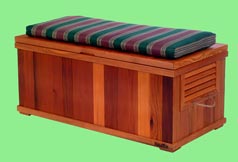
Assembly Instructions
1. Unpack everything. Find the following: Right box panel labeled ?A? and ?B?. Left box panel labeled ?C? and?D?.
Front panel labeled “A” and “D”. Back panel labeled “B” and “C”. Lid, Bottom, and four foot pads.
Hardware: Eight 2 1/2? screws (for the walls), eight 1 5/8? screws (for the foot pads), two hydraulic pistons, four brackets, four long bracket screws (to use on lid) four short bracket screws (to use on box), six 1 5/8? for the hinges and two rope handles.
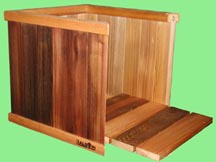
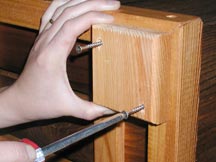
2. Screw the walls together. Line up the corners of the left and back walls. Screw through the holes in the left panel into the holes in the back panel using two 2 1/2 inch screws. This box was completely assembled at one time then taken apart. Assembly is easiest if you drive the screws into the old screw holes. This ensures a perfect fit. Now attach the right wall in the same manner. Slide the bottom panel in from the front with its fastening strips facing down. Now attach the front wall. Using the long bracket screws, attach the piston brackets to the inside of the lid. Using the short bracet screws, attach the piston brackets to the left and right end panels. The screws should go into their original holes. The bracket’s tapered end must point down.
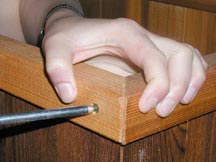
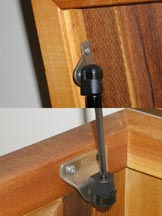
3. Attach the Lid. Place the box on its back. Move the lid into position. Line up the hinges and screw the hinge to the box using the 1 5/8? screws. Position the hydraulic piston so the larger sleeved end is toward the lid, and the slender rod is aiming at the bottom of the box. The hydraulic piston has sockets on each end that simply press onto the brackets. They can be stubborn, so you may have to push them hard. While the box is still on it’s back you can attach the foot pads using eight 1 5/8 inch screws. We mount them about 3/8 inch in from the edges. The last thing to do is to slip the ropes through the holes and tie simple knots.
![]()